Accessing the Skin
Normally skins are shown as thin, clickable borders around the page on the Page View canvas. You can double click these borders (labelled as SKIN), to enter skin mode. You can also toggle between page and skin modes by using the skin/page toggle button on the top strip of the Page View canvas.
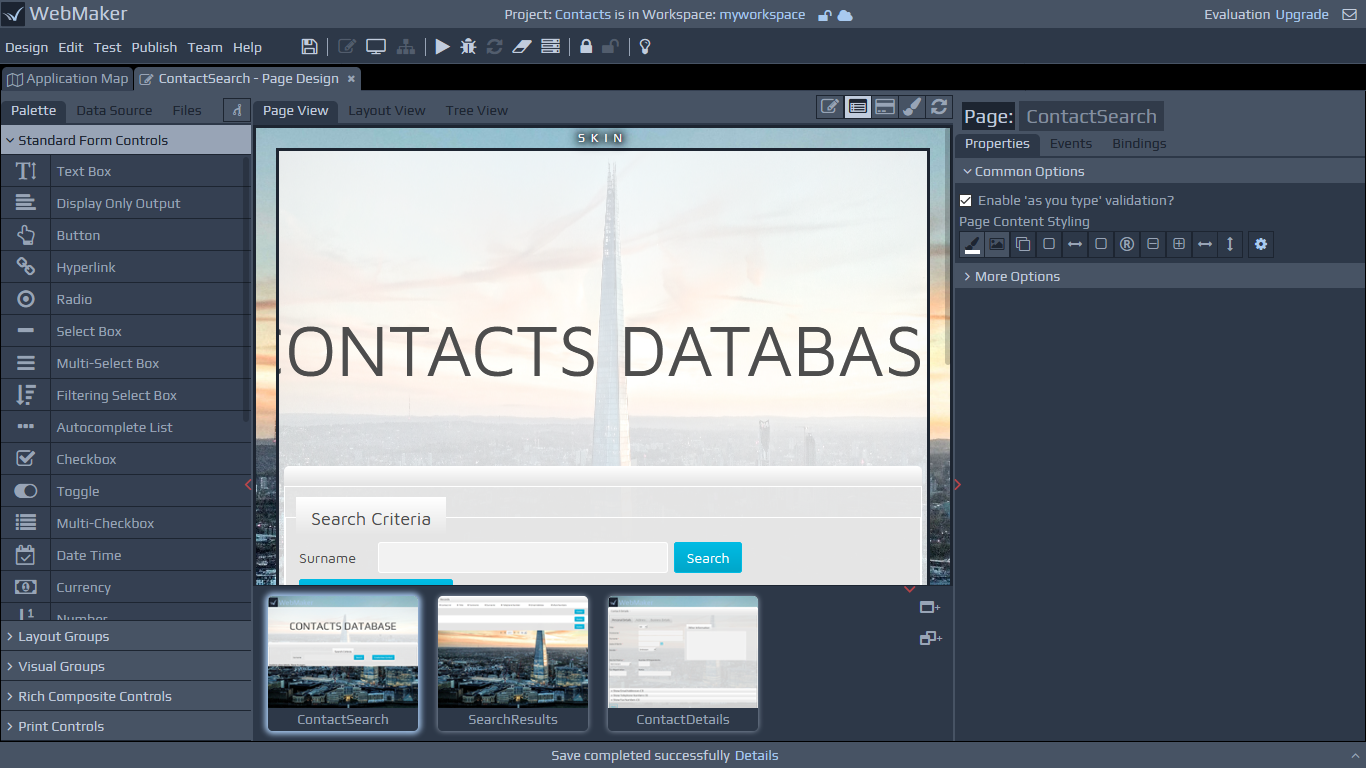
Accessing the Page
When in skin mode, you can double click the Page Content block on the canvas. Alternatively, you can also use the skin/page toggle button mentioned earlier.
Page-wide and Skin-wide Properties
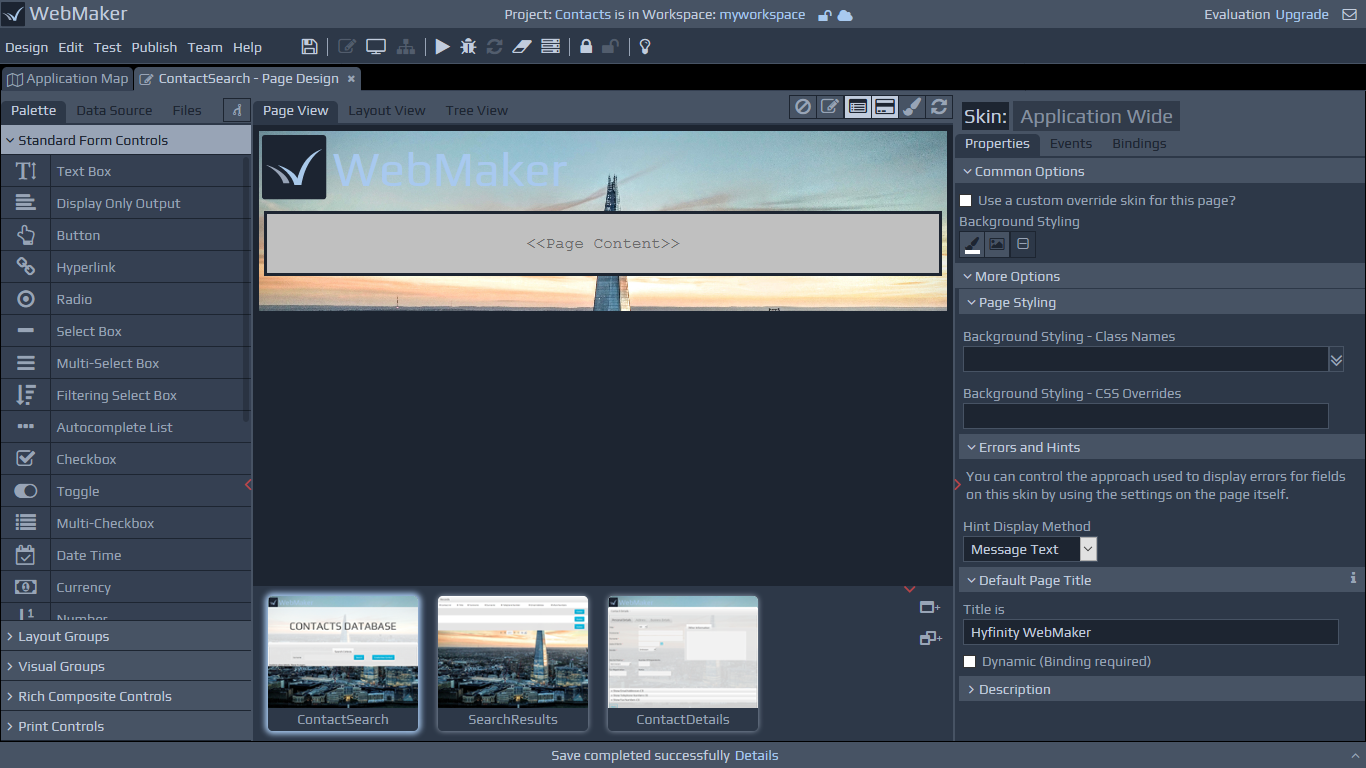
Depending on whether you are viewing a page or a skin, you can click the canvas background or use the page/skin properties button on the top strip of the Page View canvas to reveal the available page-wide and skin-wide properties.
Overriding the application-wide skin
Each page usually uses an application-wide skin that can be overriden by each page to use a page-specific skin. This option is visible on the right hand side properties panel when a skin is selected and opened in the Page View canvas. You can also revert back to using the application-wide skin from this same location.
Renaming the Page Title
Within the skin properties, you can set page titles, together with a range of other options.
Painting the Skin
You can drag and drop controls onto the skin in a similar manner to that used during normal page design.